2.Remove the bolts that secure the fixture to the wall box.
3.Test the wires inside with a touch-type voltage tester before you disconnect them. Press the button on the tester and touch the tip of it to each wire to make sure the circuit is dead. If the tester beeps or lights up, then the circuit is still live. Try additional breakers until you find the correct one.
4.Once you determine that the circuit is off, disconnect the fixture from the circuit wires.
5.Take the fixture to a worktable where you can work on it more comfortably. Look on the base of the fixture to determine if it has any pre-made knockouts.
6.Knockouts are circular and can usually be removed with a screwdriver. In other cases, they may be molded into the fixture and thereby have to be knock out with a hammer and screwdriver. In other cases still, the fixture base will feature no knockouts and therefore one will need to be made manually using a drill and hole-saw.
7.Slide the weatherproof gasket over the photocell's wires and over its threaded nipple so it lies right up against the lip of the photocell.
8.Slide the photocell's wires into the knockout and secure it in place by screwing its lock-nut onto its threaded nipple. Make sure that the lock-nut is tight and that the photocell is secure.
9.Connect the red wire from the photocell to the black wire(s) from the light fixture and secure them together using a wire connector. Wrap the connection with electrical tape.
10.Take the fixture back to the wall box.
11.Connect the ground wire from the fixture to the ground wire(s) in the wall box using a wire connector.
12.Connect the white wire from the photocell, the white wire(s) from the fixture and the white wire(s) in the wall box together with a wire connector. Wrap the connection with electrical tape.
13.Connect the black wire from the photocell to the black wire(s) in the wall box using a wire connector and wrap the connection with electrical tape.
14.Secure the light fixture to the wall box and run a bead of silicone caulk along the top half of the fixture. This is to prevent water from seeping into the fixture. Do not caulk the bottom half of the fixture as this is so water can escape if it does happen to get inside.
15.Turn the circuit breaker back on. The fixture's bulbs should turn on for a few seconds and then automatically turn off.

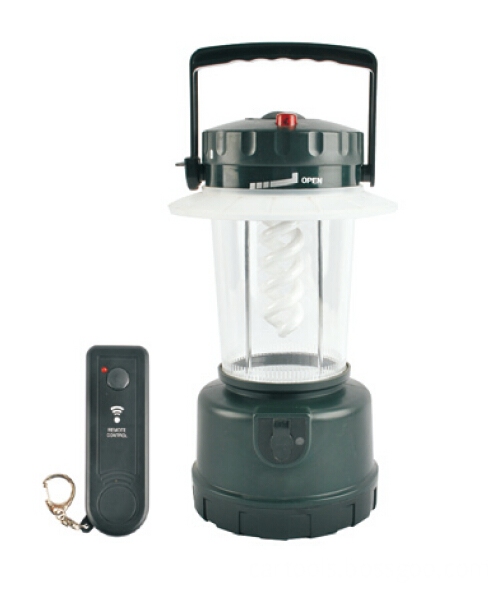
These super bright LED Camping light and U-Tube Camping Light ,LED Tent Light is very easy to operate to make camping romantic and light.
We do with dry battery camping lantern and AC/DC rechargeable camping lantern ,LED Tent Light with good quality ,so that make camping night very nice.
Outdoor Light
Camp Lanterns, Outdoor Light Fittings, Work Lighting, LED Outdoor Light
Ning Bo LingSheng Electric Appliance co., Ltd , http://www.lsautotools.com
没有评论:
发表评论